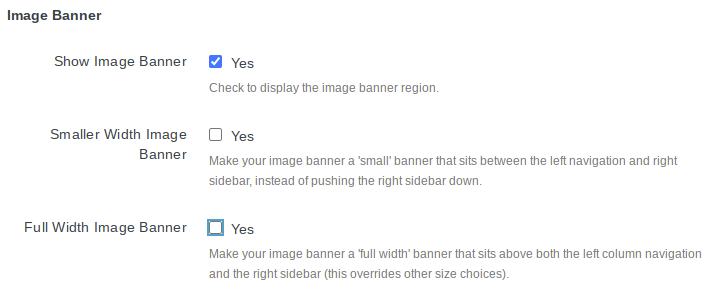
The Banner Region is an editable region for creating big, bold images at the top of your web page in order to showcase a particular topic. You can use the Banner Region to insert a static image, or you can insert an Image Slider. For help with Image Sliders please visit How do I insert an Image Slider on my page?. You may also refer to How do I create an Image Gallery Asset?.
To turn on the Banner Region:
- Log in to the CMS by navigating to a page on your website and clicking the Direct Edit link.
- Click Content then Pages.

- Check out the page by clicking on the light-bulb from the page specific controls.

- Click on Properties in the page specific controls.

- Click on Parameters from the properties tab.

- Under Custom Settings check the box for Image Banner.

- Be sure to Save your changes when you have finished.
- If you experience rendering problems once you have made changes to a page visit Why aren't my edits taking effect on the live page?.
To insert a static Image Banner:
- Open the CMS Editor for the Banner Region.

- Insert an image with the Insert/Edit Image tool. For further help with this please visit How do I add an image to my web page?.
